For a lot of small businesses that are just starting out or not well-seasoned in the business world, they may not have all the tools and resources needed to grow and manage their business, their customer support and trust, and ultimately, their success. We recognised thisgap and created our suite of tools for SMEs to flourish, even in the face of adversities.
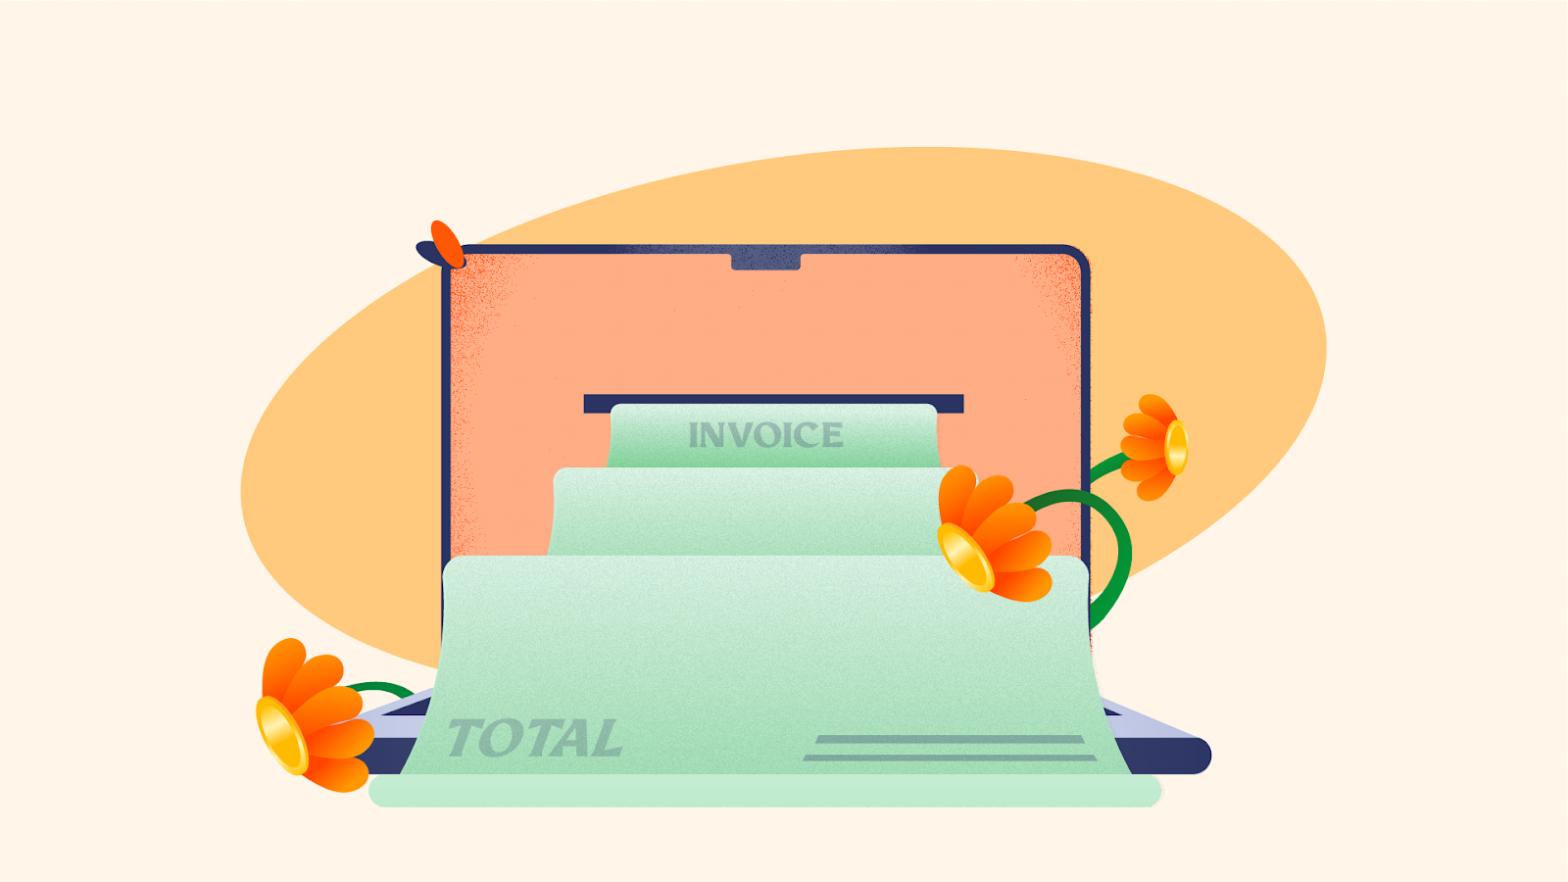
Today, in episode 5 of our #UseFlutterwave series, we will be exploring another one of these tools, Invoicing. Let’s get into it.
What is an Invoice and why do you need one as a business owner?
The What
We are probably all aware of what an invoice is; it’s that piece of paper or electronic document that we get when we have placed an order with an establishment, that lists out what we ordered and how much we are due to pay. But why do business owners need them?
An invoice typically comes before payment is made, and is a way to track orders and ensure that customers make payments for orders they have placed. Whether you decide that customers must pay before or after they receive their goods or services is up to you, but you will still need to keep track of what is owed, what has been paid, by whom and so on.
Enter, Flutterwave Invoices. First things first, it is completely FREE to use. As long as you have a Flutterwave account, you can create as many invoices as you need. If you don’t have an account yet, what are you waiting for? Open one, also for free, here.
The Why
Professionalism
Invoices bring a touch of professionalism to your business, no matter its size. When a customer places an order with you and receives an invoice, your business automatically appears more professional and legitimate because you are tracking your payments with an official document. This also boosts your brand because your invoice can include personalised touches that depict your business’s tone and style, such as fonts, colours, the company logo and more.
Tracking and managing
Invoices help you to track and manage all your payments, both owed and paid. You know which customers are yet to pay, how much, the date the payment is due and where it is to be paid. They help you to get paid faster because all the necessary information to achieve this will be clearly stated on the invoice.
Customer service
Invoices help to improve customer service and satisfaction, because they serve as a direct line of communication between you and your customers. By keeping records of payments regularly, you will establish a relationship with your customers where they feel more comfortable knowing that their payments are handled properly, and are more likely to become loyal customers.
Structure
Moreover, invoices introduce more structure and organisation to your business, because both you and your customers use them to keep tabs on the flow of money. This will be useful when you need to reconcile your records and payments, as all the invoices will be easily accessible and trackable in one place.
How to create a Flutterwave Invoice
Creating an invoice is super easy and doesn’t take much time.
- Once your Flutterwave account is set up and ready to go, log into your dashboard and navigate to the left-hand panel.
- From the left-hand panel, click on “Payments” and then “Invoices”.
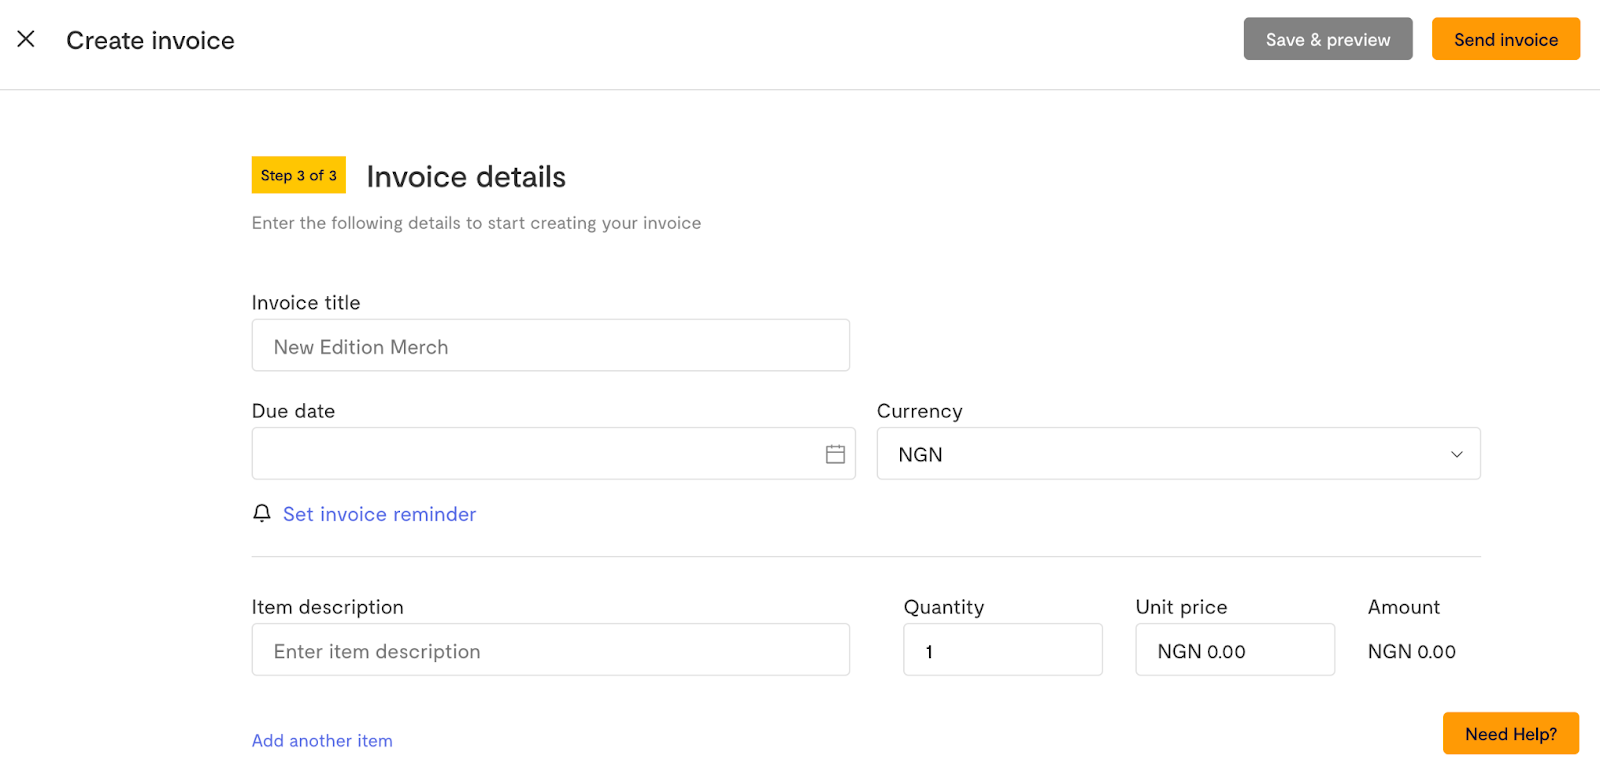
- Next, click on “Create an invoice” and you will be taken to a page where your company details will be filled out.
- Additionally, you can fill out your billing information. This is your address that is linked to your account for payments.
- You also have the option to upload your company logo, to give the invoice a more professional look.
- On the next page, you will fill out your customer’s information: their name, email address and phone number.
- For existing customers, you can select their details from a drop-down menu, making it easier to find them anytime. For new customers, you can fill out their details and save, so that their information will be readily available to you next time.
- As an added bonus, you can also click the option to send this invoice to their WhatsApp.
- You have the option to include the customer’s billing address.
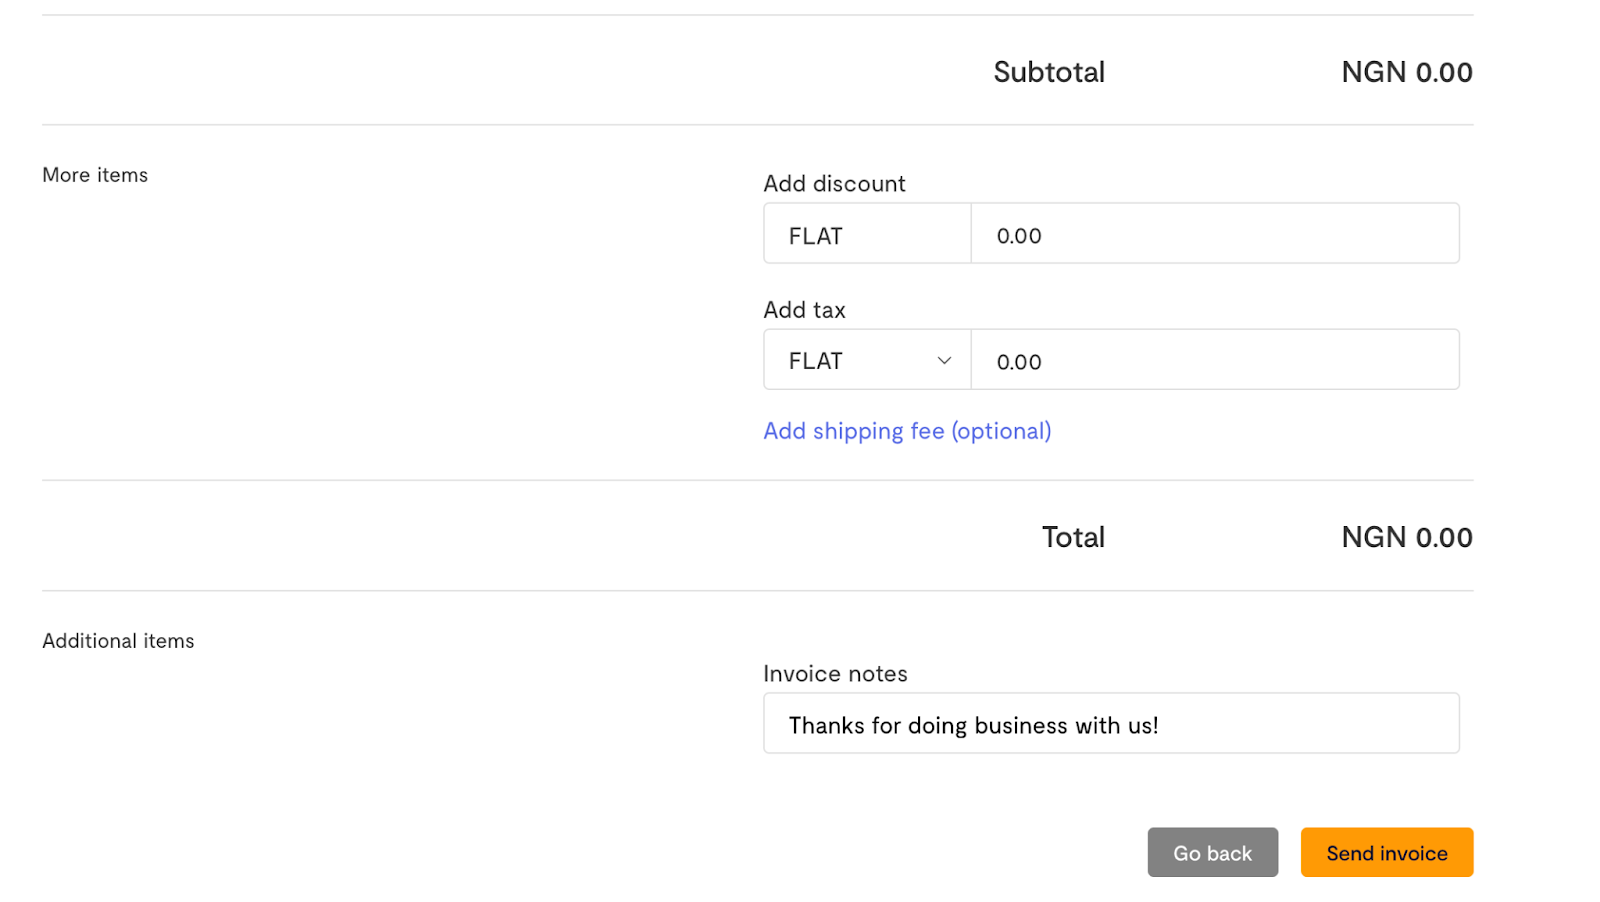
Now that you’re done with all the information and contact details of both your business and your customer, the next stage is to actually create the invoice. Here are the key details included in it:
For a visual step-by-step, watch this short video.
Finally, you can send the invoice! Click “Send Invoice” as the last stage, and your customer will receive it in their email and WhatsApp if applicable. All you need to do now is sit back, relax and get paid. 🗒️💸