We’re back with another episode of #UseFlutterwave! We know you missed us, but we are back with another stellar reason for why Flutterwave should be your solution to all your business needs – Payment Links! If you haven’t heard about Flutterwave Payment Links before, you’re about to wonder why and add it to your toolkit.
What is a Payment Link?
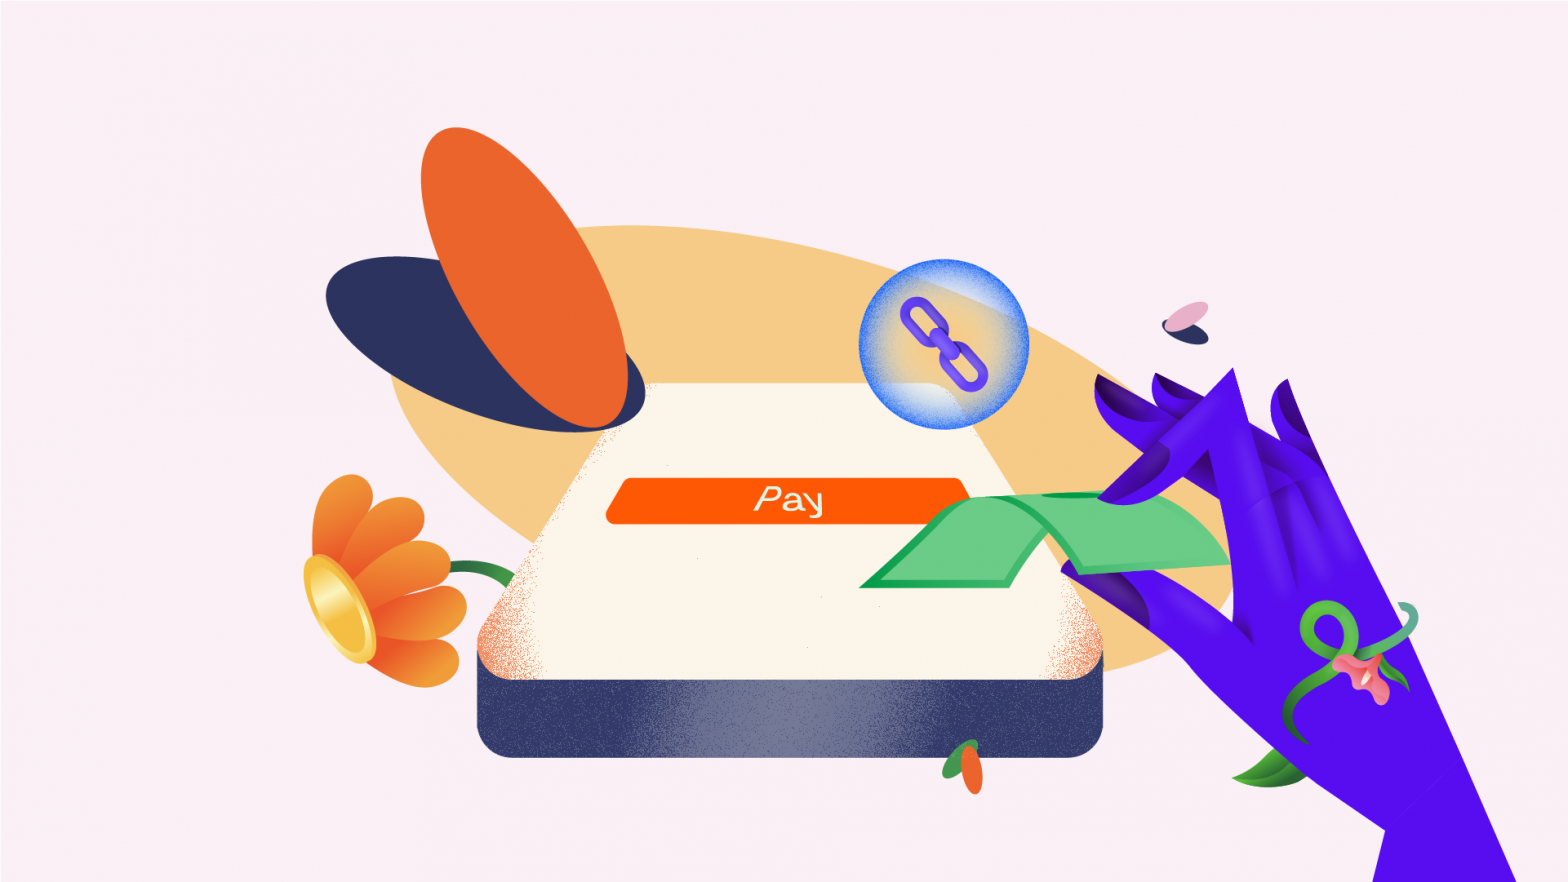
As part of our mission to simplify payments for endless possibilities, we created Payment Links as another method of payment collection for both individuals and businesses. A Payment Link is essentially a web page that you can create and send to someone for the purpose of them paying you. When they open the web page, they can use their card, virtual bank transfers, mobile money, Apple Pay or any other convenient payment method to send you the money, and it will go to your account. It’s like a magic button to receive money! 🪄💸
They remove the need to send your bank account details to customers personally, wait for them to send payment confirmations, potentially send fake receipts, and so on. With payment links, you can request money from your customers or anyone else just by sending the link to them. You can also send payment links on any platform you do business with, including text messages, social media and emails. All your customers need to do is click on the link, and in a few simple steps their payment will be on its way to you.
What can you use a Flutterwave Payment Link for?
Requesting payments from your customers or anyone really
Payment requests and collections have been made much easier with payment links. In just a few steps, your customers can pay you for your products and services anytime and anywhere. It is also perfect for freelancers and small businesses that may not have a website or may have difficulty consolidating their payments. With no technical knowledge or skills, you’re able to set up a web page that can process payments from debit/credit card and other payments worldwide. It’s having the power to process payments like the big companies, just without the huge staff costs and other technical costs they have.
Non-Governmental Organisations and Donations crowdfunding
If you are looking to raise funds for an NGO, or passion project or other cause in an organised way, our donation link feature is what you need. By just sending the link out, people from different parts of the world can donate funds in multiple currencies, and all donations will be safely in your Flutterwave account.
Friend group contributions for weddings, bridal showers, birthdays, etc.
Gathering financial contributions from friends and family for special events like weddings, bridal showers, birthdays, or other celebrations has become increasingly common. Flutterwave Payment Links makes it easy for invited guests to contribute funds for gifts, parties, or other expenses related to the event. This collective approach ensures that the financial burden is distributed among participants, and the best part is they can contribute from wherever they are in the world.
Subscription payments
To collect subscription payments, the Flutterwave payment link works great as there is a dedicated one for subscriptions. Just like how a recurring payment works, by just inputting some details including how frequently to charge the subscriber and how many times this payment is to be collected, you can tailor the subscription link to be able to collect all types. The subscriber only needs to enter their details once and they’re charged every time the payment is due.
Why you need to start using payment links
Convenience
Payment links do not require any add-ons like a website, coding, bank account details and so on. You can send them directly to customers or broadcast them on your social media pages, and payments can be made in a matter of minutes.
Multiple payment options
At the checkout page, your customers can choose between the multiple options available such as card payments, bank transfers, USSD payments, mobile money and more.
A simple way of completing transactions
Your customers don’t need to create a Flutterwave account or even visit your Flutterwave Store or website for them to be able to access your payment link. They can tell you what they would like to order from you, and when you create the link, you include the details of the product. It covers all the steps needed to complete a purchase in a simplified way for your customers.
How to create a Flutterwave Payment Link
As long as you have an account with Flutterwave, you can create a payment link at any time, directly from your dashboard. If you don’t have an account yet, you can create one here. After you have done so, follow these simple steps:
- Log on to your dashboard, and on the left-hand panel, select “Payments”.
- Click on “Payment links”, then “New payment link”.
- You can then choose whether you want to create a payment link for a single charge, subscription link or donations.
A single charge link, as the name suggests, should be used when you want to collect just one payment from your customers. A subscription link is used for recurring payments, and payments that are to be paid at intervals. Finally, a donation link is used for collecting donations for any cause, project you wish to fund.
Here are the step-by-steps to create each one:
For a single charge:
- Enter your page name and description. This should be a summary of the product or service that is being paid for.
- Enter the amount and currency that you want to collect.
- You can also add an image of what is being paid for, which will be displayed on the platforms where the link is shared.
- Click “Create link”.
For a subscription link:
- Enter your page link and description. This should be a summary of what is being paid for.
- Enter the amount and currency that you want to collect.
- Select the payment interval – this is how often you want this payment to be collected, and can be weekly, monthly, etc.
- Enter the number of times to charge this subscriber for this particular subscription.
- You can also add an image of what is being paid for, which will be displayed on the platforms where the link is shared.
- Click “Create link”.
For donations:
- Enter the page name. Here, this is the name of the donation/NGO/cause.
- Enter the description of this donation.
- Select the currency and amount that you want the recipients of the link to donate. Alternatively, you can leave this section blank so that they can decide for themselves which currency and amount they wish to donate.
- Include the donation website and phone number.
- Click “Create link”.
For a visual guide, watch this short video. Once these steps are completed, you can view all the payment links you have created on your dashboard, and send them to your customers and recipients when you are ready to start collecting the payments.
We are here to continue simplifying payments for you!